Integrating a robot with a launch file
This page contains a step-by-step guide to integrate a robot using an existing launch file.
What you need before starting
A launch file containing the different components to run
URDF file of the robot
Prerequisites
Procedure
Start the framework:
roslaunch grip_api start_framework.launchSet the URDF file and robot’s composition
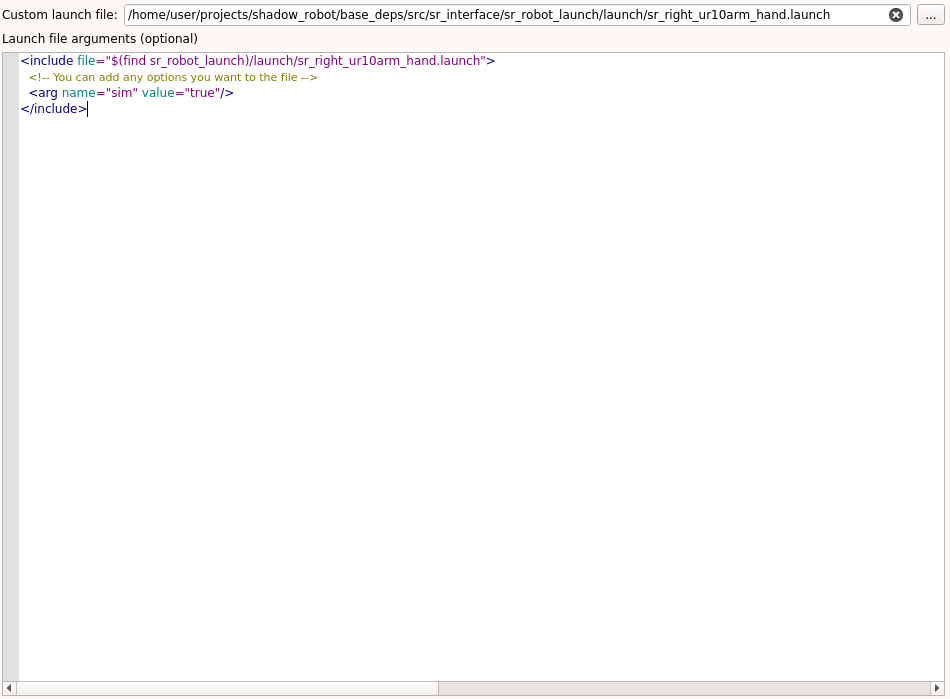
Specify your launch file in the corresponding field (you can use the
...button to browse your file system).An editor allowing you to set the different arguments of your launch file will appear. If you don’t have any argument to set, you can skip. Otherwise, each argument should be specified using the following format:
<arg name="arg_name" value="value"/>
Fill in the different editors that would allow GRIP to communicate with your robot. At least a controller for each robot part needs to be set. In our case we set this controller for the arm and this one for the hand. Since this launch file already runs MoveIt!, we defined a planner for the group
arm_and_hand.You can click on the
Launch buttonand GRIP should be able to operate your robot.
Important notes
run_node: False so your method is not launched twice.